This week I thought I'd share details on how to make quick and easy invitations using computer fonts, and traditional supplies.
Step 1. Decide on the size of your card, I made mine 4.25" x 5.5", standard invitation size. This makes my information panel approx 3.5" x 4.5". Trim a piece of cardstock to size, and scan into the computer @ 300dpi.
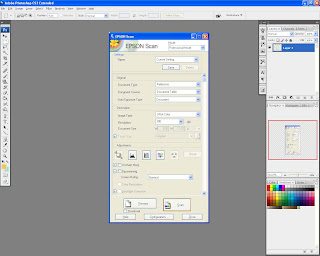
Step 2. Once scanned, crop the image using the crop tool (no need to have unnecessary clutter on the desktop!).

Step 3. Using the text tool add text to the panel, alter the font size, typeface and color. Center all the text inside the panel. Add decorative touches if required, here I just used a row of 7 dots.
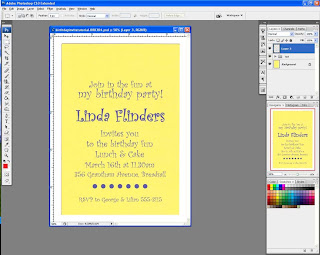
Step 4. Print the above image out onto paper. Next hide the scanned layer, the layer with the yellow cardstock. Do that by clicking the "eye" icon on the left side of the layer palette.
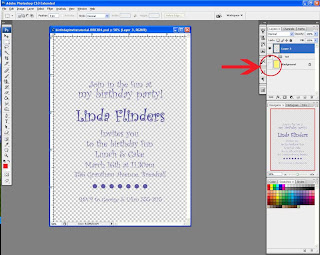
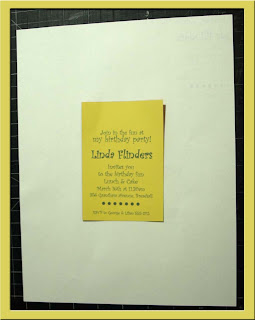
Step 5. Using removable adhesive adhere yellow cardstock to the printed paper directly ontop of printed design, and run through printer again. You should end up with the print directly on top of the cardstock piece.
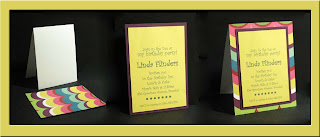
Step 6. Cut white cardstock 4.25" x 11" score in half and fold. This will be the card base. Adhere printed invite to purple cardstock and trim to size leaving small border. Adhere this to the patterned paper, then adhere whole thing to card base.
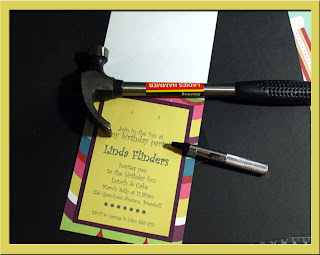
Step 7. Using a hole punch, punch two 1/8" holes through the FRONT of the invite. I used an anywhere hole punch, but a Cropodile would work too.
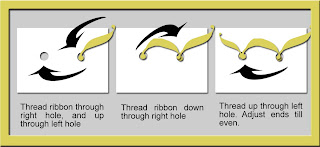
Step 8. Take a length of ribbon and thread through holes. The diagram below shows how to thread the ribbon for this effect.
Tip: Nice and simple technique for adding ribbon to a project when you don't have enough to tie into a bow!
Finished project. This could be a folded card invite or a single sheet invite. I always opt for folded so I can put information inside, like a gift list, or directions, depending on the occasion.
 Supplies: Cardstock: Bazzill; Patterned Paper Glitz; Ribbon: one heart... one mind; Font: Curlz MT;


1 comments:
what a great idea for the bow!
Post a Comment