Uncovering the Masking Technique!
Tuesday, March 6, 2007
Masking basically is the opposite of stencil. You can buy them pre-made (heidi swapp for example) or you can use your existing supplies and make your own! When you see a stencil you know that the cut out part is the part that ends up embossed or colored, with masking the part you SEE is the part that ends up without color. For me I usually use my left over alphabets stickers for masking, it doesn't matter on the color or font (I love the random look) as you won't SEE the sticker after! It's a great way to use up those left over supplies!
For this example I used:-
- DCWV cardstock
- alphabet stickers by Making Memories
- inkpad

Step by Step Instructions
- Lay the alphabet stickers on the cardstock in the order you wish
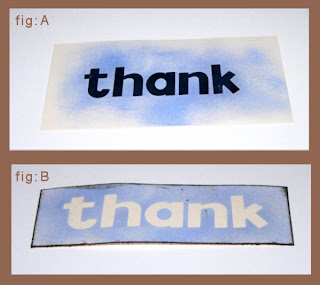
- apply the ink directly to the cardstock covering the area around the alphabet stickers (fig:A)
- Once you covered the cardstock with the ink remove the alphabet stickers (fig:B)
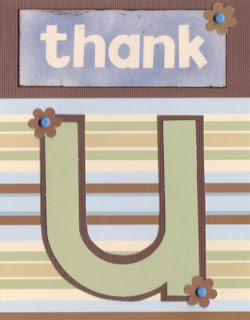
- You are then ready to add the peice to your layout or card!
- In this example I used ink for my mask, but I could have used any number of mediums including inks, chalks, cremes or paints.

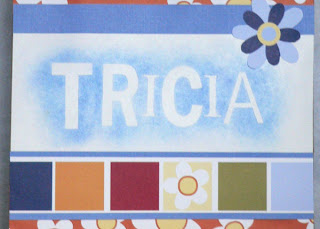
In the example above I inked the whole peice of cardstock, but different effects can be acheived by applying ink/chalk to just the edges of the mask. In the example below I use different size alphabet stickers and some blue chalk. Just applying the chalk around the letters gives a much softer effect.

You can use this technique with anything self adhesive though really it does have to be removable adhesive, you need to get the mask OFF after you've painted or inked over it! I've had great results with the store bought masks, alphabet stickers and die cuts run through a removable adhesive machine. You could make your own patterned paper using this technique! Think of the possibilities!
Try masking and see how easy it is!!


1 comments:
One of my fave techniques as well Di.... It's been too long since I have done it.. thanks for the inspiration!
Post a Comment