I did part 1 last week, which was a basic overview and first impressions, but as I try new options I plan on updating the review. This week CD printing!
We had the CD printing option on the RX680 but embarrassed to say we never used it. However lots has changed in a year, namely we have the camcorder now and it's Christmas and I have parcels to send back home which include CDs of photo's! So it seemed like a good idea to try out the CD printing :)
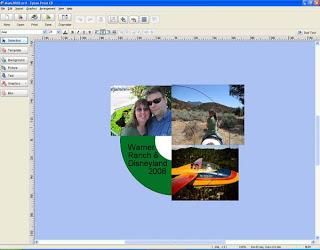
I started by opening the Epson Print CD software which comes with the installation CDs. The software is pretty easy to use, especially if you're used to photoshop or other photo processing software. I imported photo's easily, resized and arranged in order. To edit a photo (for transparency etc) simply double click the photo and a window box with options appears. Interesting point to note that cropping is called "scooping" here, which not only crops but allows the "cutting" of photo's into shapes. Nice little tool!
After playing around with a few photo's I added a background (green as that was in all three of the photo's), and some text about the Photo's on the CD. As this was my first try I kept it all nice and basic :) The end result looked something like this:

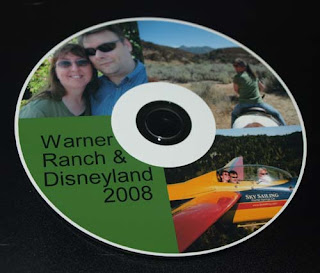
Satisfied with the basic design, I selected print and turned my attention to the printer. The CD printing tray sits between the paper carrier tray and the touch screen display, by selecting print the printer sets about ejecting the tray for you (and tells you that what it's doing too on the display!). Once the tray is ejected the printer screen tells you to insert your CD. I popped the CD onto the tray (printer side up) and then pressed the appropriate button (marked CD tray) and off it went. In SECONDS the CD was printed and ejected and ready to go! And I mean SECONDS! Seriously quick!!! This is the printed CD.

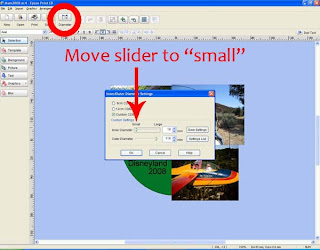
I loved the quality but wasn't keen on the white circle, which I found was a "user error"! LOL! To fix this for future CDs simply click "Diameter" on the task bar, this opens a window where you can alter the diameter of the printing area! Slide the "inner diameter" all the way down to "small" and VIOLA!

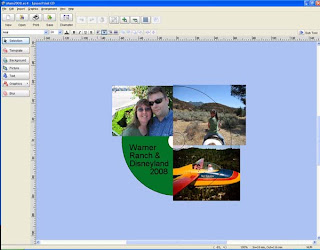
Of course the proof was there immediately showing me I had a load more printable surface. I made sure I saved this in the settings so that I get the maximum printing area each time!

So there you have it! My first printable CD, and the first of many more to come. It was really easy, and printed REALLY FAST, yet the quality is AWESOME! Wouldn't these make great holiday gifts for grandparents? Their own CD or DVD filled with photo's throughout the year!
And before you ask, yes Mom this one is for you and should be on it's way to Merry Ol' England by the end of the week!
Hugs
Di
Update: Ok since then I've printed 2 more CDs, it's addicting that's all I can I say!!!


0 comments:
Post a Comment