Resizing projects photo's
Tuesday, May 19, 2009
Step 1 - Take a photo of the project. In this instance I used a card I made for the sketch earlier this month.
 Tip: As you can see I use a super professional backdrop, lol. That's a DCWV stack of paper, just open at a coordinating color for the backdrop and it 'should' stay open if the back is leaning against something :) I prefer the pastel stack so the colors of the backdrop don't compete with the colors in the card. Usually I'd take the card outside and photograph in natural light, but for time sake I skipped that part ;)
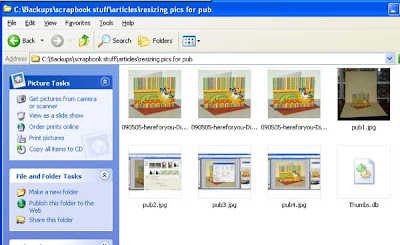
Step 3 - Save the image. I personally save THREE versions of each image. Now this may seem excessive to some but personally if you are thinking of submitting I think saving the image as a BIG filesize is a good precaution to take. If you need to resize/add text/copyright brushes all this is best done from a larger image. I named this file: 090505-hereforyou-DiHickmanBIG.JPG my logic here is the date, name of card, my name and my 'code' so I know which file is which at a glance. BIG = my original.

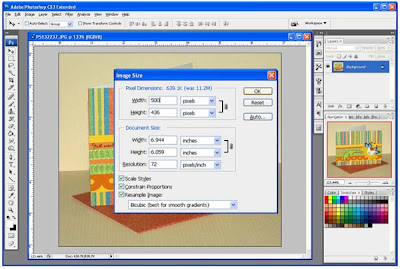
Step 4 - Next up is to resize the image for submission. Usually this means to resize so the file size is around 100KB. Do this by going to> image> image size then the pop up box appears:

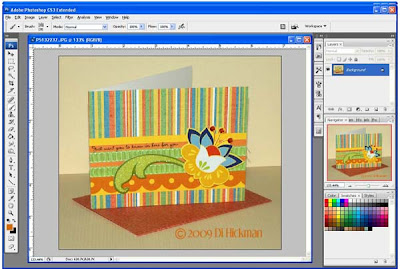
Now the next step I do cos I started putting a copyright logo on my blog pics after getting some images stolen and someone trying to claim my work as their own (yeah it DOES happen). So now I save a third image with my copyright brush. Which is my step 5


Hope this helps, any questions just email or ask in the comments :)
Di


0 comments:
Post a Comment